
Free Report
Veeam is a Four-Time Leader and Outperformer
See why Veeam’s Kubernetes data protection solution outranks competitors
- Kubernetes Partners
- Red Hat OpenShift
Red Hat OpenShift & Kasten K10
Accelerate Modernization With Data Resilience
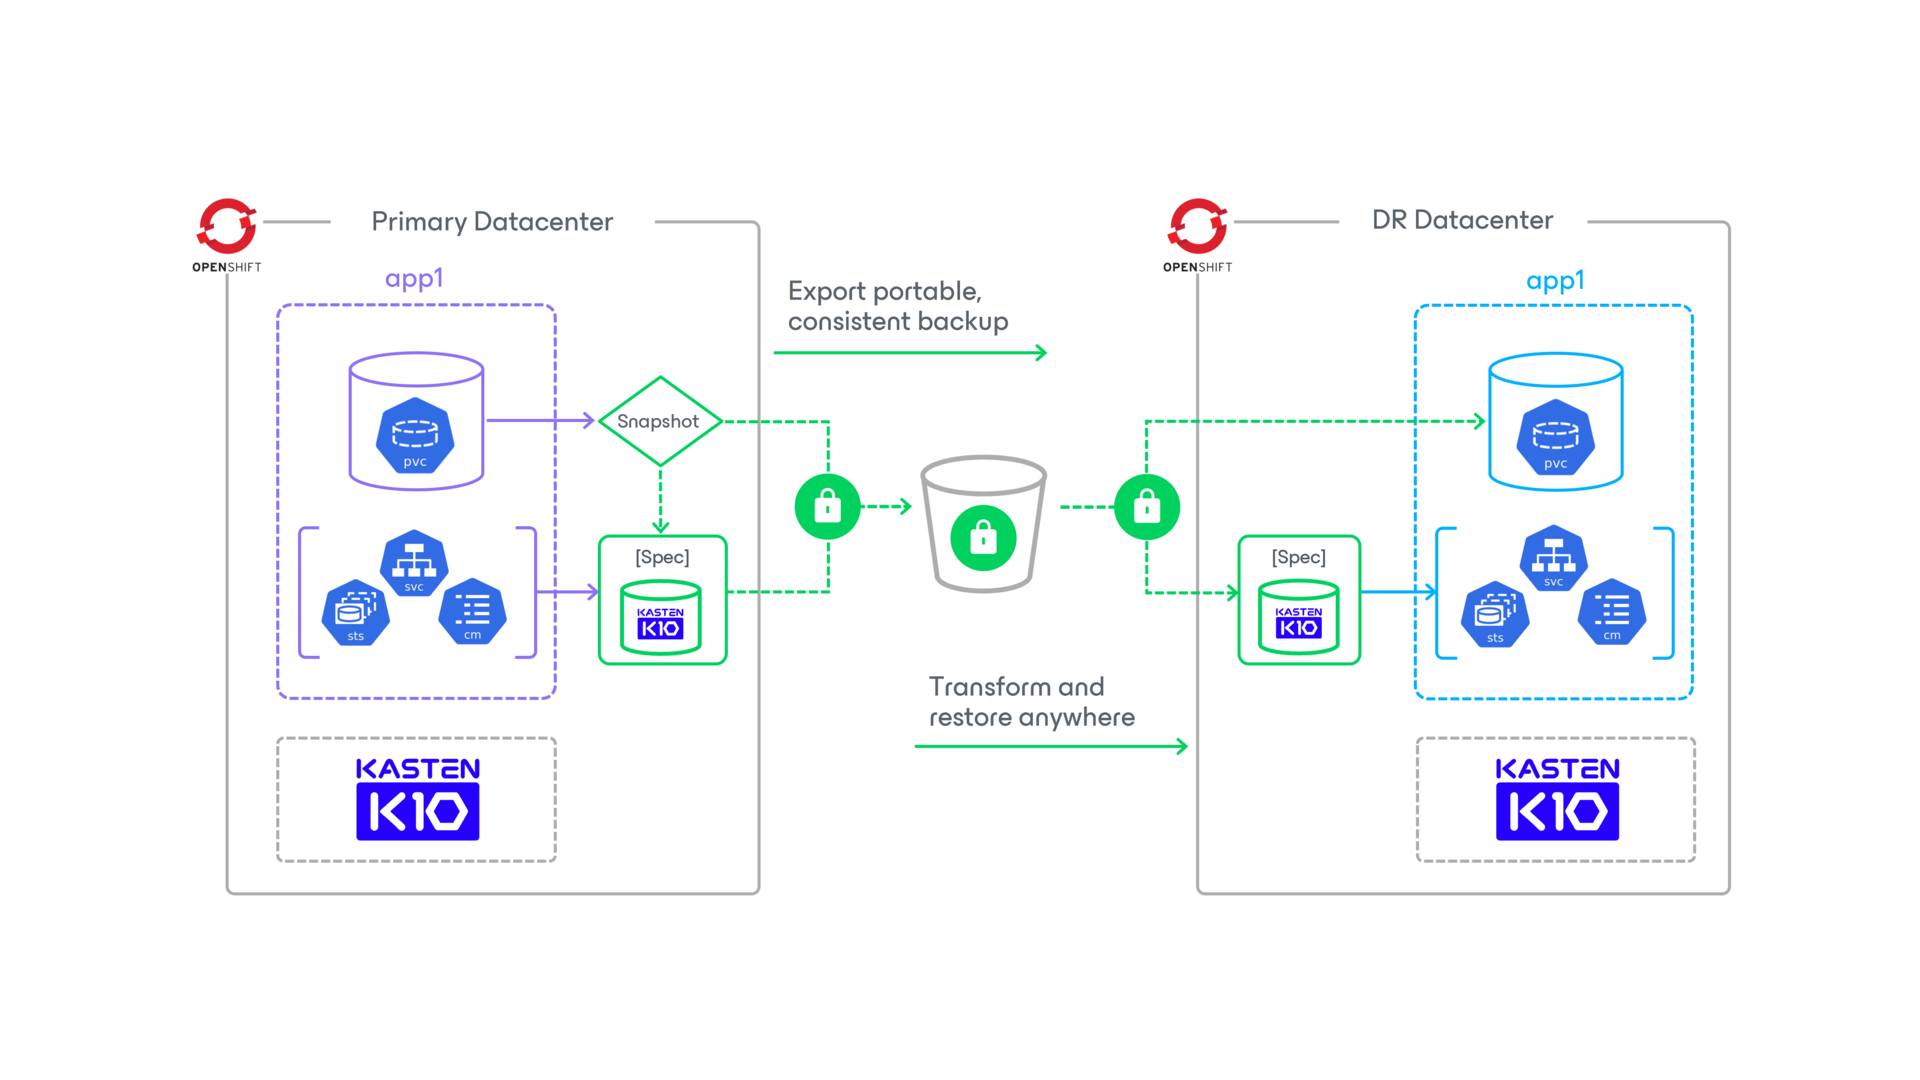
Simplify application migrations and reliably protect your hybrid cloud investments
- Make data protection upgrades easier for OpenShift everywhere
- Enhance security across development, deployment, and operations
- Reduce risk and cost in hybrid environments, across clouds, or at the edge

Enterprise Data Protection for OpenShift Wherever You Need It
Save Time and Reduce Complexity
Empower your team with a user-friendly interface that deploys in a few clicks and simplifies transformation, migration, backup, and disaster recovery.
Modern, Manageable, & Protected Infrastructure
Gain better insights into multi-cluster management, enterprise security, and application-consistent backups.
Improved Operational Efficiency
Restore and recover OpenShift clusters with ease, intelligence, and automation.
Transform Your Security & App Modernization
Modernize Applications Faster
Quickly transform app configurations to simplify migrations and seamlessly move deployments across clusters and nodes.
Enhance Security Capabilities
Up-level your security strategy with reliable and extensible backup, recovery, and advanced threat detection against malicious attacks and ransomware.
Increase Productivity, Reduce Risk
Less time and technical skill required to backup applications in a secure, compliant, and policy driven manner.
Harness the Power of Kasten K10 + OpenShift
Jointly Supported and Managed OpenShift in the Public Cloud
Gain the flexibility and agility you need to scale to the cloud with a simple solution for backup, DR, data security, and cross-region migrations on OpenShift on AWS and Azure. Easily build, deploy, manage, secure, and scale your applications across clouds and hybrid environments.
A Single Hybrid Platform for Applications at Scale
Along with data resilience capabilities for OpenShift, Kasten K10 is validated with Red Hat Advanced Cluster Security (ACS) and OpenShift Data Foundation to strengthen Kubernetes security, governance, storage, and data services.
Maximize VM Assets by Managing Them Alongside Containerized Workflows
Kasten K10 can help migrate virtual machines to OpenShift nodes, then manage and protect VMs alongside containerized workloads on a single enterprise platform.
Check Out Our Customer Success Stories

FAQs
What distinguishes Kasten K10's approach to OpenShift data protection?
Why choose Kasten K10 for backup and disaster recovery in OpenShift?
How can Kasten K10 enhance migration and mobility for OpenShift applications?
How does Kasten K10's Kubernetes-native solution benefit OpenShift data protection?
Radical Resilience Starts Here
hybrid cloud and the confidence you need for long-term success.
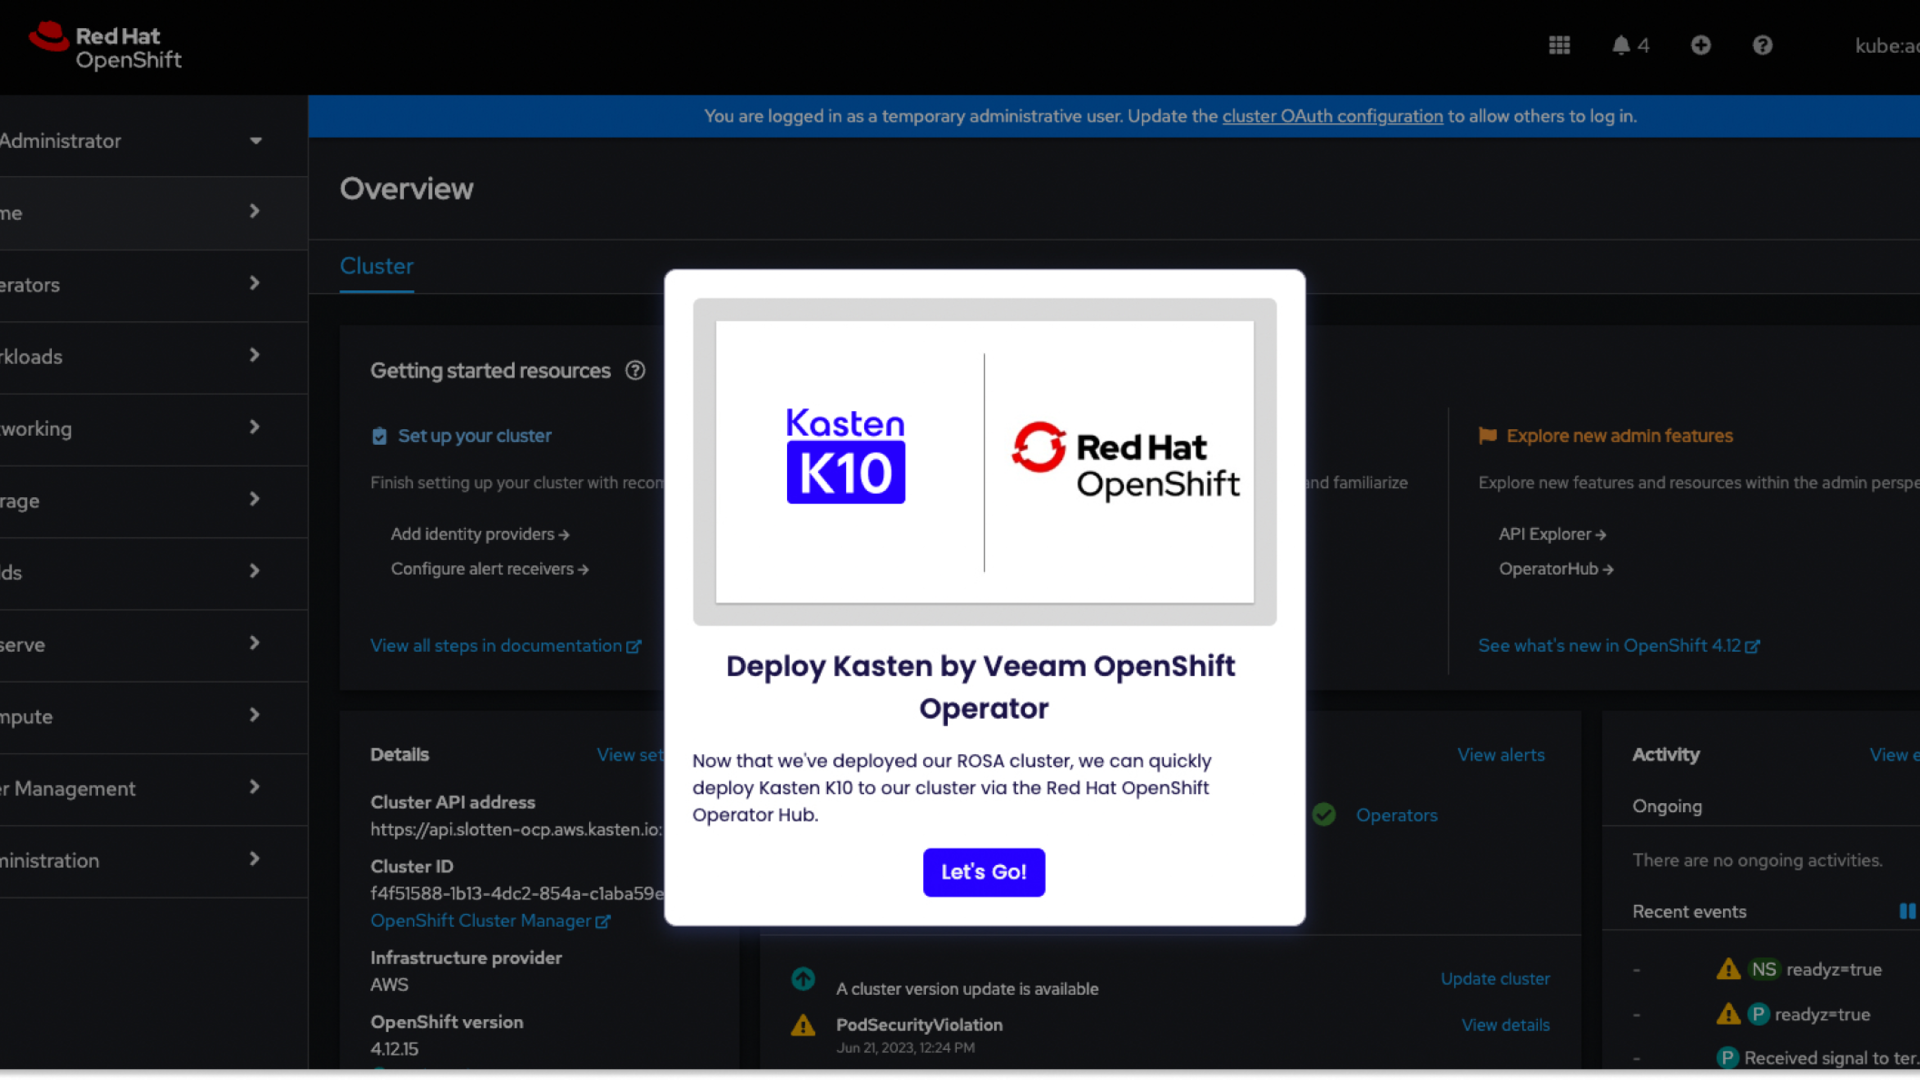
Get Started on the Red Hat Marketplace
Deploy Kasten K10 in minutes and get a fully featured license free up to 5 nodes
Tour Kasten K10 for OpenShift
Learn how we can help modernize your applications and the way you protect them
Contact Us
If you’re ready to learn more about Kasten K10 or our partner solutions, or wondering how to get started, we’re here to help